Episode 13: A better background (triple-buffering)


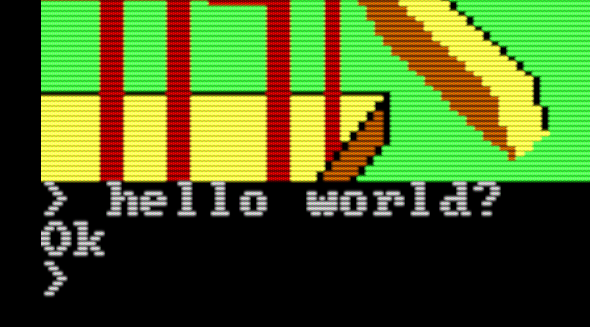
In Episode 12 we moved to a double-buffering scheme where the CPU draws the scene in a separate buffer, taking as long as it needs, then copies the finished product to video memory for display. It works great, except... our background is kinda bland:
We draw the background using a single color and we erase over the character using a single color. Wouldn't it be nice to have some type of pattern, or better yet, an arbitrary image for our background? What if we introduce a third memory buffer holding a fully-drawn background image? Then we could erase over old player graphics by copying a rectangle of background to the compositor.
Let's introduce a third buffer and call it "background". It can have the same size and layout as our compositor buffer -- 320x200, 2 pixels per byte, a straight run of pixels. It can live at 0x8000, which is 32K below our compositor at 0x10000.
The downside here is we're now using 3/4 of the available memory just on graphics! We've kept everything in nice round numbers and actually allocated 0x8000 = 32768 bytes for each buffer, but we actually only need 320*200/2 = 32000 bytes. So keeping our framebuffer at 0x18000, we'll nudge the compositor and background up a bit to free up some extra space:
section .data

  BACKGROUND_SEG: dw 0x860    ; 0x10300 - 32000 bytes = 0x8600
  COMPOSITOR_SEG: dw 0x1030   ; 0x18000 - 32000 bytes = 0x10300
  FRAMEBUFFER_SEG: dw 0x1800  ; FB always starts at 0x18000

  room_width_px: dw 320
  room_height_px: dw 200

section .text
There. We took back over 1500 bytes.
Our drawing algorithm becomes slightly different. As a first step, we compose the background (just the background, no player icons) in the background buffer, then copy it into the compositor and framebuffer. Then in our loop, we erase the player graphics from their old position not by drawing a solid color rectangle over them, but by copying a rectangle of background scenery. We'll make the following changes:
Change draw_rect to draw to the new background buffer
draw_rect will no longer be needed except to help us draw our initial background. This is easy, just change mov di, [COMPOSITOR_SEG] to mov di, [BACKGROUND_SEG].
Add a new subroutine: blt_background_to_compositor
This is going to help us copy scenery from the background to the compositor to hide the player's previous-location icon. It's actually pretty easy since the background and compositor buffers are laid out the same way – a given pixel will be at the same offset in each buffer, so we only have to do the calculation once and just use different segments for the copy:
; blt_background_to_compositor( x, y, w, h )
; Copies a rectangle of background buffer data to the compositor.
; NOTE: X and W must be even!
; Args:
; bp+4 = x, bp+6 = y, bp+8 = w, bp+10 = h
blt_background_to_compositor:
push bp
mov bp, sp
push ds ; Set DS to source and
push es ; ES to destination
mov es, [COMPOSITOR_SEG]
mov ds, [BACKGROUND_SEG]
mov cx, [bp+10] ; # lines to copy
.copyLine:
; Compute which row number we're writing to
mov ax, [bp+10] ; Start with rect height
sub ax, cx ; Subtract countdown to give us rect row
add ax, [bp+6] ; Add Y location to rect row number
; Compute starting byte offset for this location
; DI = (AX * 320 + x) / 2
mov bx, [cs:room_width_px]
mul bx ; AX *= 320
add ax, [bp+4] ; ... + x
shr ax, 1 ; ... / 2
mov si, ax
mov di, ax
push cx
mov cx, [bp+8]
shr cx, 1 ; Because each byte encodes 2 pixels
rep movsb ; Copy the whole line from DS:SI to ES:DI
pop cx
loop .copyLine
pop es ; Restore our segment registers
pop ds
pop bp
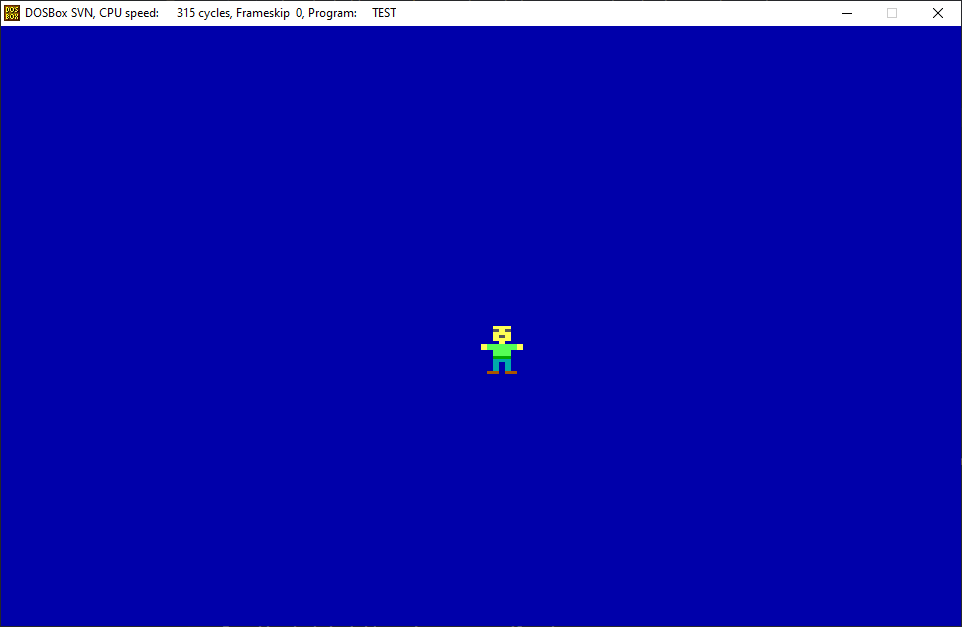
ret 8And we're done! But to show that the code is different from last lesson, we can draw any arbitrary background we choose into the background segment. I've taken the easy route and used our existing draw_rect subroutine to draw a couple rectangles. Since the subroutine expects 5 words pushed onto the stack (X, Y, width, height and color), we can just code data for a couple rectangles like this...
rect1: dw 40, 40, 120, 60, 12
rect2: dw 120, 70, 120, 60, 5
...and draw them like this...
push word [rect1+8]
push word [rect1+6]
push word [rect1+4]
push word [rect1+2]
push word [rect1]
call draw_rect             ; Draw a red rectangle onto the background buffer

push word [rect2+8]
push word [rect2+6]
push word [rect2+4]
push word [rect2+2]
push word [rect2]
call draw_rect             ; Draw a brown rectangle onto the background buffer
The result:
Looks nice!
There's one more thing we have to take care of. In the last lesson, we hardcoded a new stack pointer to account for the fact that we are now using the memory where the stack normally goes. But we arbitrarily chose 0x2000 for this, leaving us only 8192 bytes for data, code and stack. We should really put the stack pointer as high up as possible, right under our background buffer which starts at 0x8600. Remembering that the stack location is the stack segment (SS) times 16 plus the stack pointer, and we don't want to mess with SS, we can calculate a new SP as 0x8600 - (SS << 4). That's what the following code does:
; Stack management - Move stack pointer down out of the way
; so we have three 32KB buffer regions free
mov bx, ss
mov cl, 4
shl bx, cl
mov ax, 0x8600
sub ax, bx
mov sp, ax
xor ax, ax
push ax
After we set SP, we push a zero word onto the stack just as COMMAND.COM would.
See the full code for this episode in the project's GitHub.